
Step 1. When you are inserting the Table of Contents remember to choose the page you left intentionally blank and put the cursor before the section break. This is important because if you choose to insert the Table of Contents after the section break it will be in the wrong place and will not display the correct page numbering!

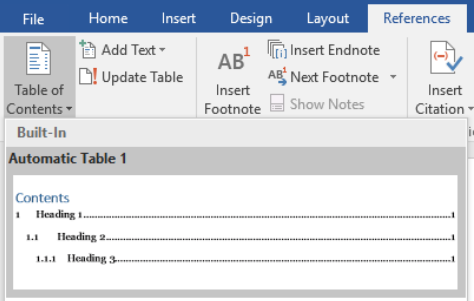
Step 2. Open up the References tab and choose the first built-in Table of Contents “Automatic Table 1”.
The Table of Contents should look like this:
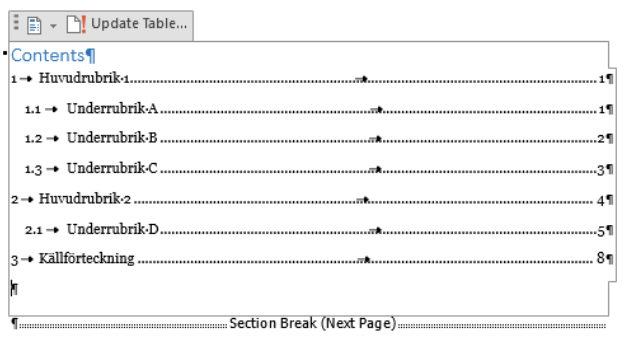
As long as you have formatted your headlines correctly then the name, headline numbering and page number will be automatically be added in the Table of Contents. If they are not displaying correctly then check if the headlines have the correct style.
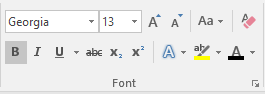
Step 3. You should also change the headline of the Table of Contents as they are in the wrong color and font. Write in Table of Contents by hand and with font Georgia fontsize 13 Bold and with font color black. Do not use Heading 1! If you use Heading 1 as a style the Table of Contents headline will be visible in the table of contents as an item, which it should not be! However, Heading 1 and 2 should be used for all other headlines in your text.
Note: Every time you make a change in your text or your headlines change the page you should refresh the Table of Contents by clicking on Update Table. This is important so that the pages and the names of the headlines will be displayed correctly in the Table of Contents!
