
You have probably noticed that the standard setting styles in Word show a document that does not look correct. The reason it does not look correct is because the fonts are incorrect for the purpose of our academic text. You need to change styles that they can be used automatically without having to change to the correct style whenever you write an academic text. Example on styles is “Heading1”, “Heading2” and “normal”. Styles should always be used depending on if it is a headline (Heading1), title (Title) or basic text (normal). This is used so that Word can differentiate in your text over what is a headline and what is your basic text. Once Word can do this it is easy to automatically create table of contents (and other tables) where it can automatically display the headlines in the table. If there is something wrong with the appearance of a style or you need to change it you can easily make the change in Style dialog box that will automatically change every style that uses it. That way you do not need to change every style for hand in a text. There is a Chart at the bottom of this page which has all the correct configurations for the styles. n.
Take the following steps to configure the styles correctly:
Step 1. Choose the Home tab and look for the Style menu.
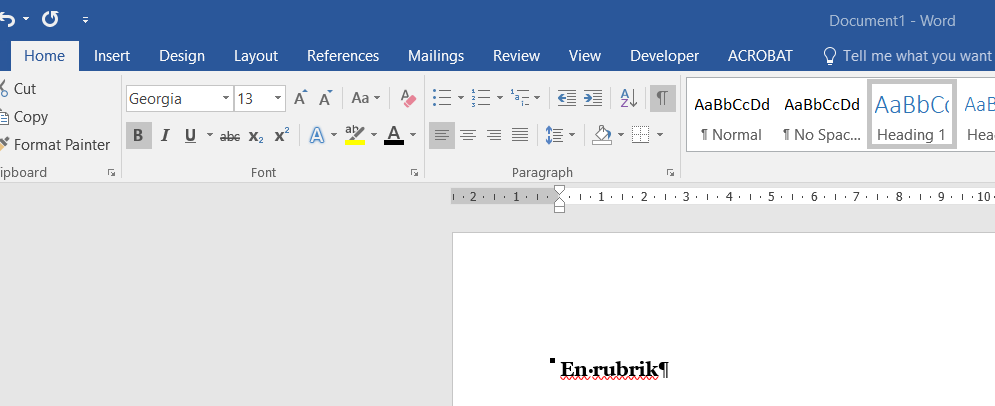
Step 2. Choose “Heading1” in Styles field and write any text you want for example “En rubrik” (A Headline) as in the picture below. (You will notice that the font is Calibri and that it is blue).

Step 3. Change the appearance by using the buttons in Font menu. Mark the text with your mouse and change it to Georgia 13 Bold Font Color Black.
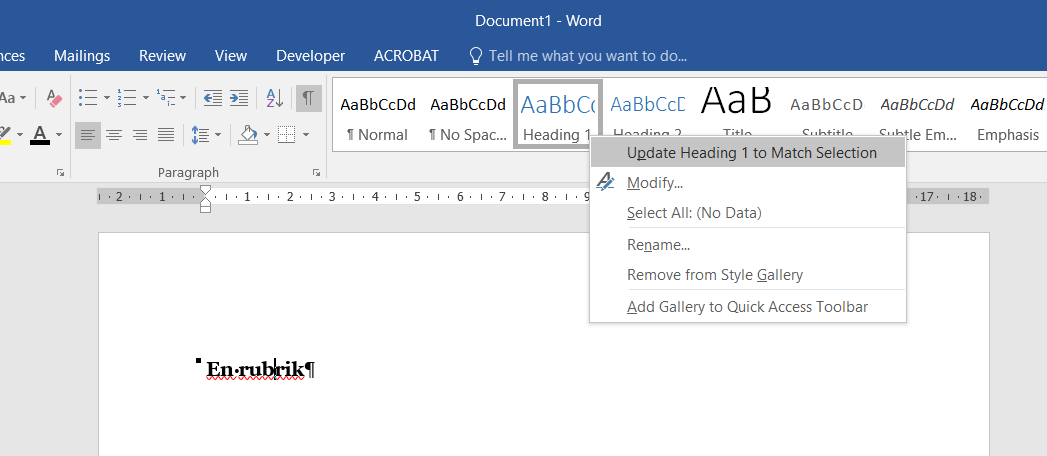
Step 4. Make sure you have your cursor on your headline text right click on Heading 1 in the Styles menu. Choose “Update Heading 1 to Match Selection“. Now whenever you use the style Heading 1 it will look uniform across your text.
Observe that Heading 1 should have a page break before it. You can make this automatic by right clicking on the style menu choosing: Modify > Format > Paragraph > Line and Page Breaks and choose Page Break Before.
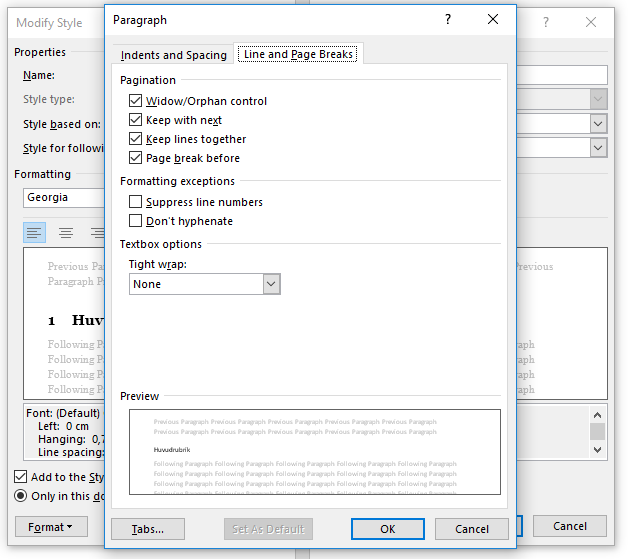
Heading 1 is the only style that should have a page break before it! If for some reason a another style has an automatic page break before it you can deactivate it by using the same instructions.
Step 5. Repeat steps 2-4 for styles “Heading2”, “Heading3” and “normal”. You will find examples on how these styles are supposed to look in the chart below. All styles are not relevant for Course 9999 which means that you do not need to update all styles. However, it is important that you have the essential styles in use and therefore updated to their correct look.
Modify Styles
If you are interested you can modify all styles through Modify Style dialog box. You do not need to write the correct style into the text but you can create it automatically for every style you will use. If you feel confident in its use this is preferred method in changing the styles because it is much faster. Use the instructions above to get to the dialog box:
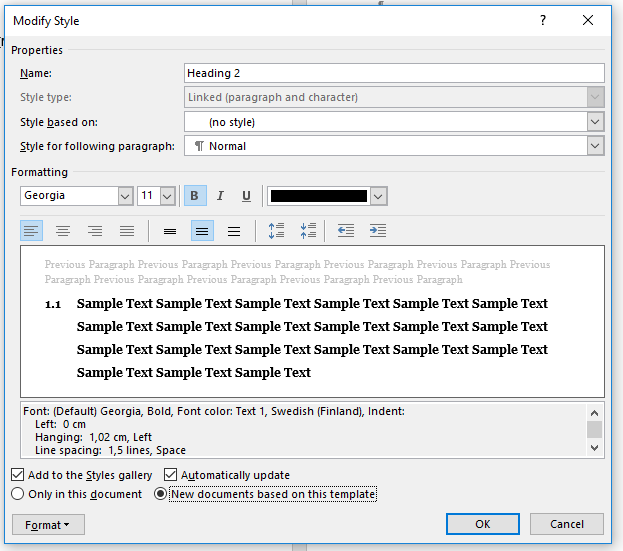
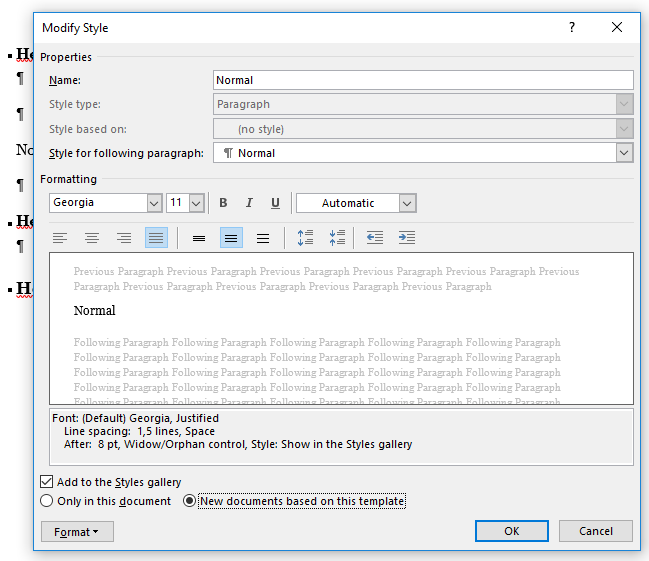
If you are using Modify Style choose (no style) in Style based on. If you are using Modify make sure that the paragraphs will be correct! t! Line Spacing should be 1,5. Choose also “New documents based on this template” so that whatever changes you made will be saved also in new Word document!
Remember to save the changes in Word when you close the program for the first time after you have changed the settings on the styles!
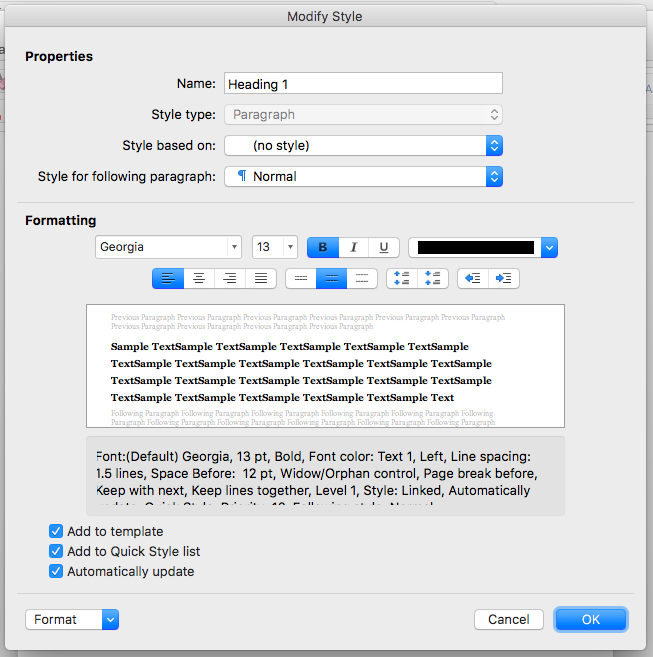
Mac users: The sane functions exist on Macs even if the Modify dialog box looks different. Choose Add to template so the settings will be saved in Word.
Style Chart:
| Title | Georgia 19 | (Centered) |
| Author | Georgia 16 | (Centered) |
|
Institution Svenska handelshögskolan Location Year |
Georgia 12 | (Centered) |
| Heading 1 | Georgia 13 | Bold |
| Heading 2 | Georgia 11 | Bold |
| Heading 3 | Georgia 11 | Bold, Italic |
| Heading 4 | Georgia 11 | Italic |
| normal (body text) | Georgia 11 | Normal text |
| Figures / Charts | Georgia 9 | Bold |
| Citation | Georgia 9 | Indented text |
| Reference List Content | Georgia 11 | Normal text |
| Page Number | Top of page | (Centered) |
| Margins | Top: 2,54cm Bottom: 2,54cm | Left: 2,54cm Right: 2,54cm |
| Line and paragraph spacing | 1,5 | |
| Page Size | A4 |