By following these instructions you can create a cover page which can be reused through out your time as a student. It is recommended that you start with creating a template for the cover page. However, do not choose “Cover Page” from “Insert” menu! “Cover Page” will give you only ready made model which does not correspond with the correct format that you should use for Hankens academic writing. Bachelor’s and Master’s dissertations uses the cover page. Doctoral dissertations do not use the cover page instead it has it’s own title page!
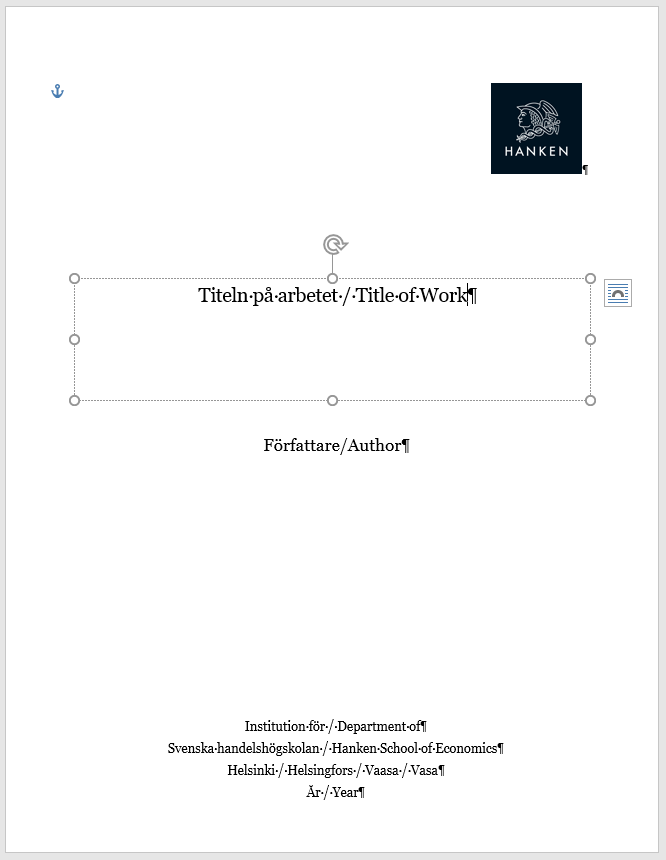
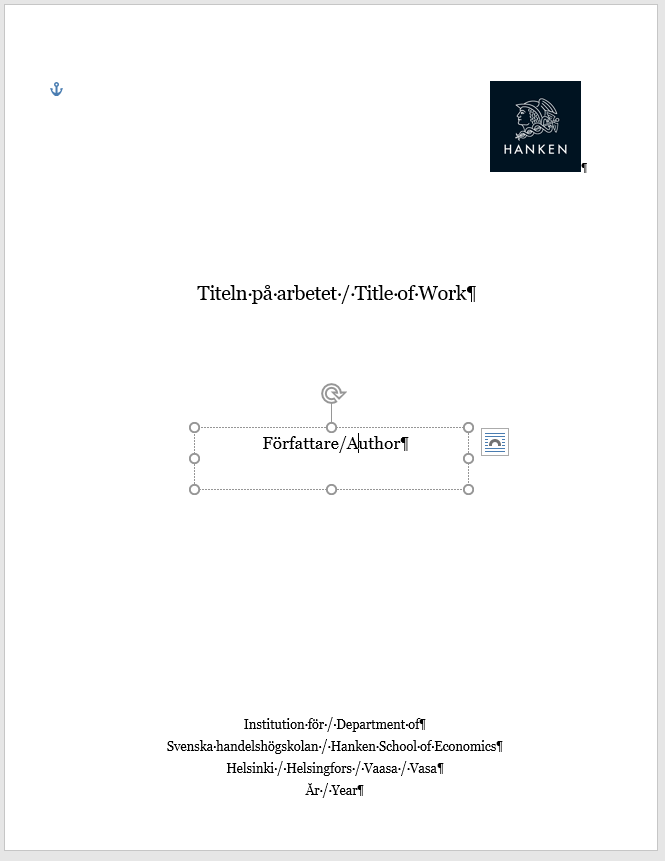
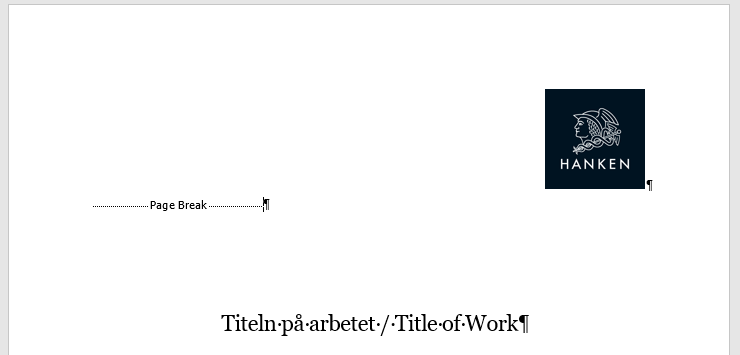
The cover page should include Hankens logo, Title of Work, name of author (your name) and name on your institution, location and year. The cover page should look like this:

Logo
Choose a blank page at the start of your document and put in Hankens logo on the page.
Save Hankens logo on your computer and paste the logo on the upper right corner of the page. Choose “Align right” in the paragraph menu so that the logo is on the correct side.
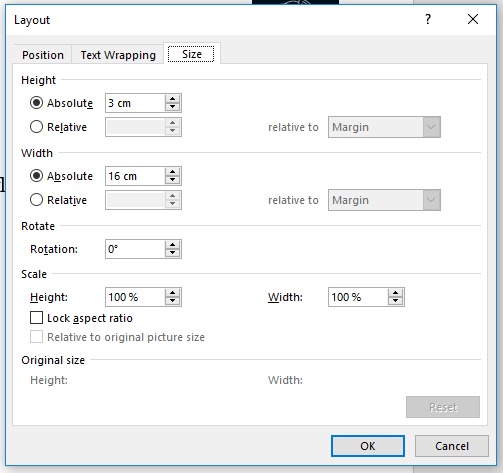
Right click on the picture of the logo and choose “Size and position”. Height and Width should be 3 cm.
Text Box
On the cover page there should be space for 3 text boxes. None of the text is put directly into the page but are in their own boxes. When the text is inside the boxes they will not affect the placement of the rest of the text, meaning that if you write long sentances they will not effect the placement of other parts of the document.
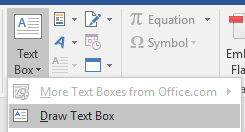
You will be able to create the text boxes by “Insert” > “Text Box” > “Draw Text Box”:

Draw a text box on the cover page:
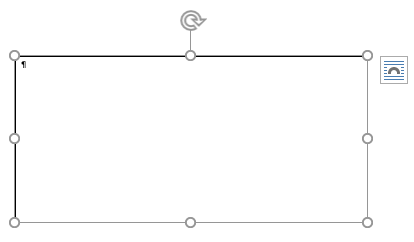
The text box should not have outlines! Remove the outlines by right clicking on outlines of the box and choose “Outline” > “No Outline”:

You can change all the measurements of the boxes by choosing “More Layout Options”. All three text boxes have their own measurement.
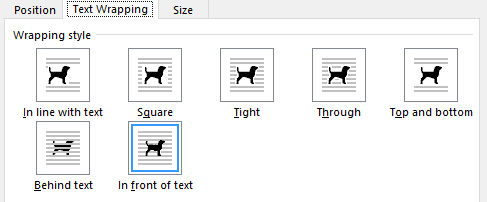
You do not need to change the boxes “Text Wrapping” as long as it is in front of text:
Title
The first text box should only include the Title. Remember that the style should be Georgia 19 Centered. When you create the box for the first time you can only include the Title of Work as a placeholder and change it every time you write your next assignment.
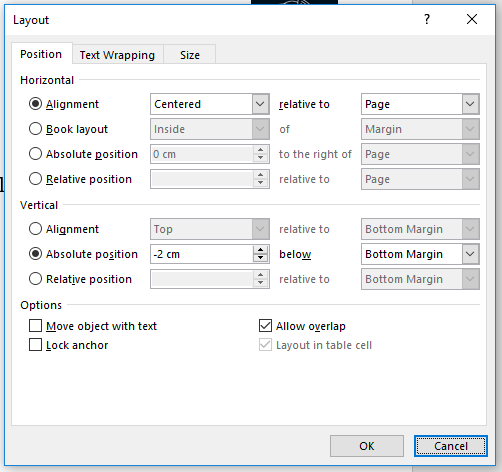
To get the text box at the correct height use the following measurements in “More Layout Options” :
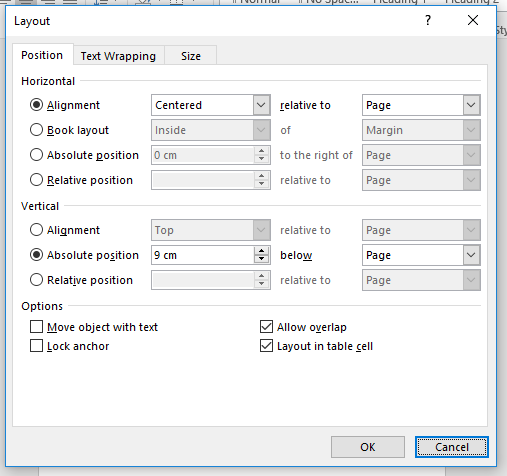
Author
The Author text box should come under the Title text box and should have the style Georgia 16 Centered. You can insert directly your own name in this box so that you do not need to write it in every time you choose the cover page.
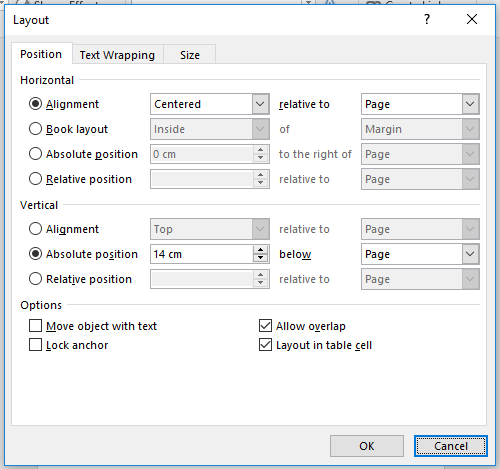
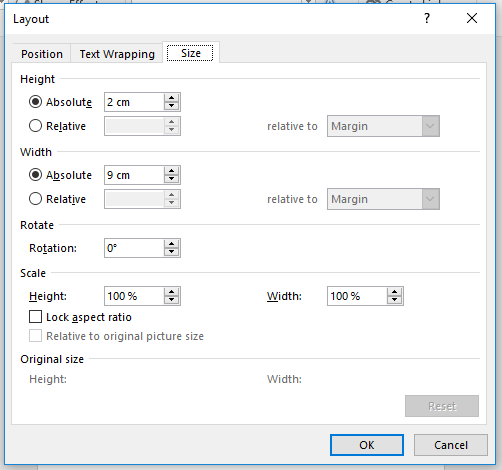
Use the following measurements in “More Layout Options” for the Author text box:
Department, University, Location and Year
The last box should be on the bottom of the page and have information on the department, university, location and year. Once you know to which department (your major) you belong to, you can have that information inserted in the box. The same thing applies to the university which is by default Hanken School of Economics and the location. The location is dependent on if you are studying in Helsinki or Vaasa. Choose one location not both! The year is changed according to the year you are writing you text. The style is Georgia 12 Centered.

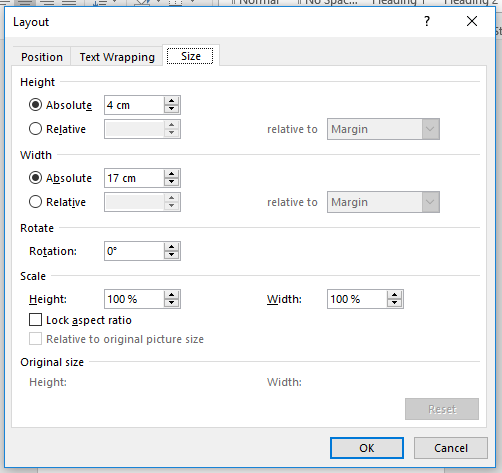
The measurements for the last box should be the following in “More Layout Options”:
Save the page as a Cover Page
After you have followed the instructions above you can save the page as a Cover Page.
Windows:
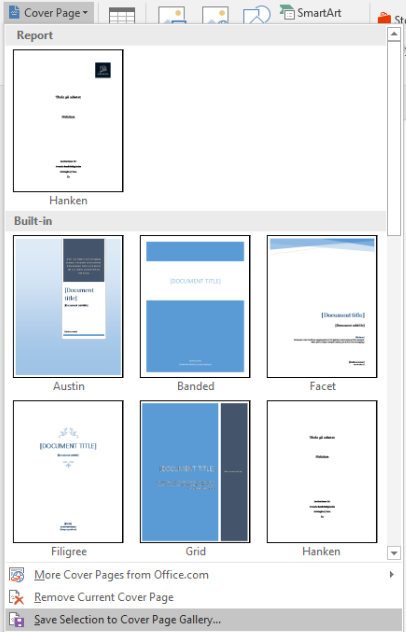
Select the page so that it can be copied. Open up the “Insert” menu and choose “Cover Page“.
Choose “Save Selection to Cover Page Gallery“:
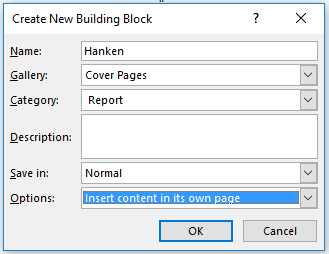
Give the cover a name so that you can find the cover page in the future:
Choose the new cover page and write in the relevant information!
The page you created according to the instructions is only a ordinary page, you should still choose the new cover from “Insert“>”Cover Pages” so that the document recognizes that the page is a cover. Once you have the cover in the document you can erase the text and picture you used to create the cover otherwise it will be double in text. Remember save the settings! When you close the Word program for the first time once you have created the cover the program will ask if you want to save, answer yes! In the future you get the page automatically from “Insert“>”Cover Pages“. Write in the relevant information for the current writing project you are doing. The new cover page will have page break after the logo as long as you created the correctly the text boxes. This is not a problem since the text boxes do not impact the page the same way text does and are immune from the page break.
Mac:
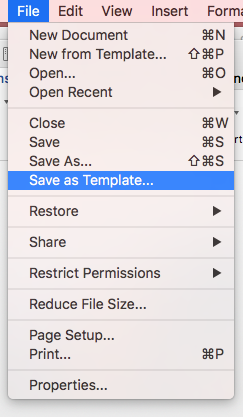
For Mac users you cannot use the above method to save the cover, instead you should save it as a template. However, it is recommended that you save it as template only after you have completed all formatting for the in the document: One can create a template where avsnittet (3), sidnumreringen (4) and innehållsförteckningen (7) are ready made in the document. When the cover looks like it should and all the formatting is correct choose “File“>”Save as Template“:
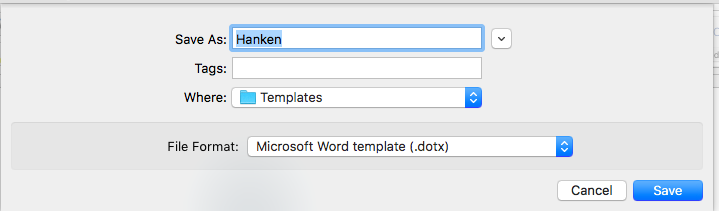
Write in the relevant information!
With Mac you do not need to choose the cover page again as long you have followed the instructions above you have all the correct settings you need. Once you have saved your settings as a template you can write in the relevant information on the cover page.
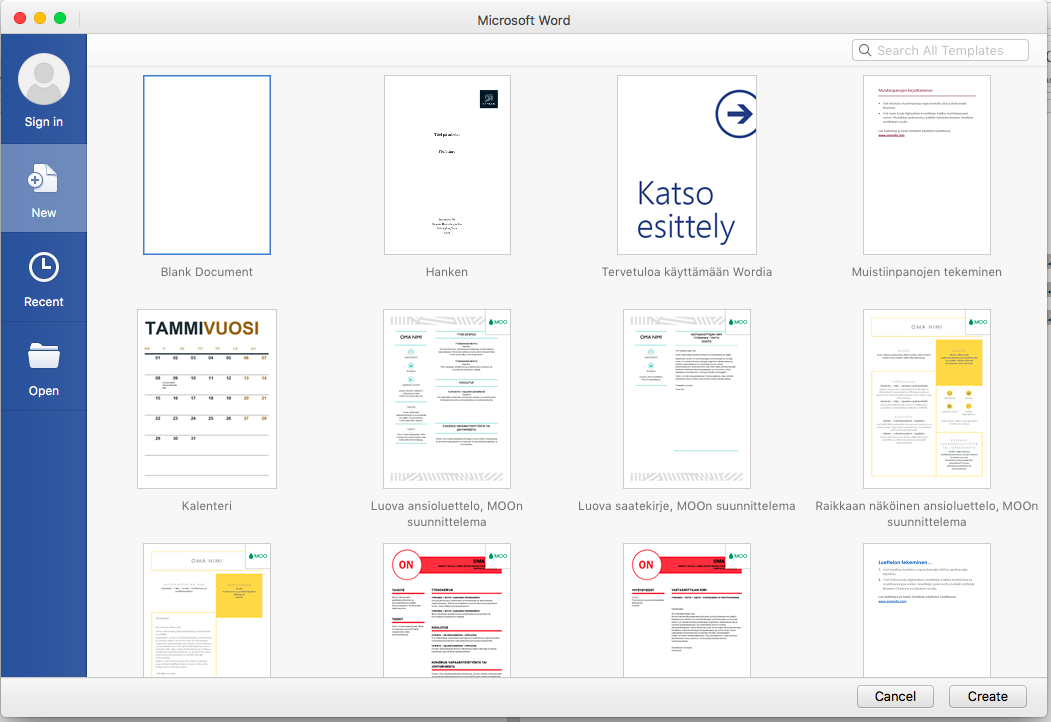
In the future you can choose the same settings and cover page by choosing from “New from Templates” the Hanken template: